Managing an olitt shop involves: Frontend design, updating details, adding payment methods (credit card, bank check, PayPal and flutter wave), adding products, creating/updating product categories/taxonomies.
Here is a video guide for the same https://youtu.be/_J97m4P5uao?si=ap7s5XAMAgsBtg7H
Below are the steps for each of the involved tasks in managing a shop.
- Shop frontend design.
A shop front-end design is the user interface that customers interact with when browsing and making purchases on an online store. A good shop front-end design balances aesthetics with functionality, creating a seamless, intuitive, and visually appealing experience. Here’s a breakdown of the elements that make up a typical shop front-end design.
Follow the steps below to manage your shop’s design:
- Log in into your account and navigate to the olitt dashboard. From here, you can now manage your shop by clicking on the manage button.

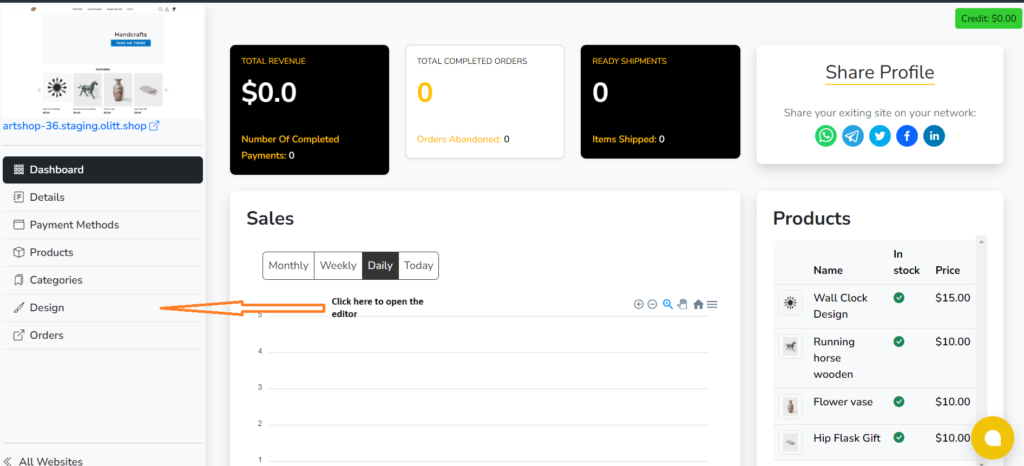
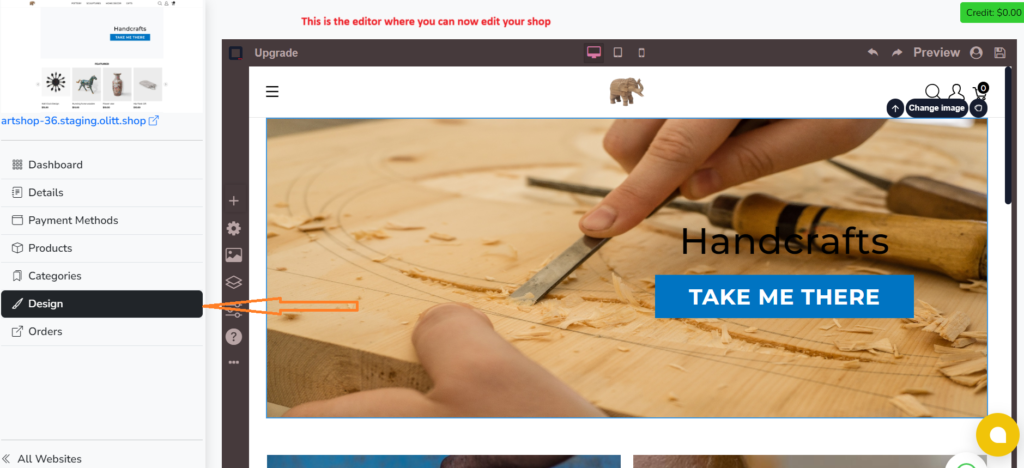
The editor provides drag and drop functionalities when editing the site, this makes it easier for you to manage the shop.
From the editor you can change the images, text color, text size, and also font styles.
- Updating details.
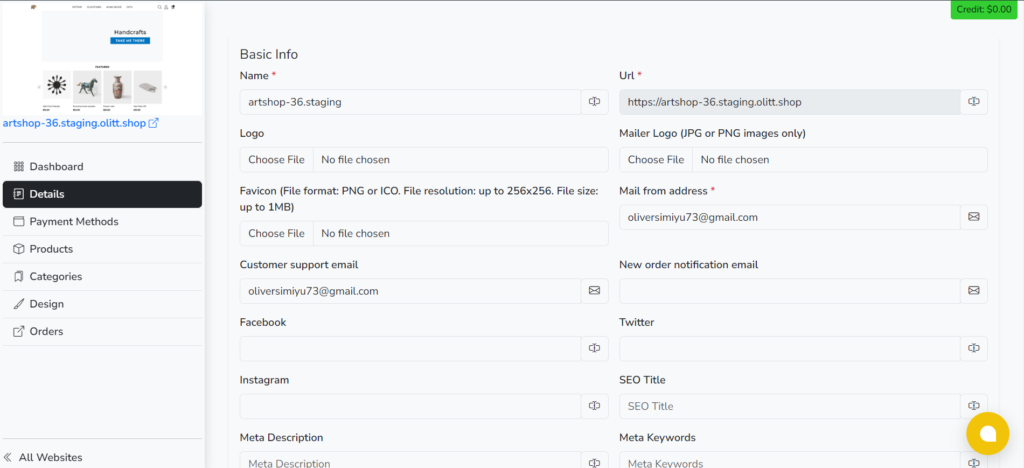
Updating details entails setting up the shop name, shop logo, email addresses, specifying currencies, contact information and the shop description.
This is usually done from the shop dashboard at the details section.
- Adding payment method.
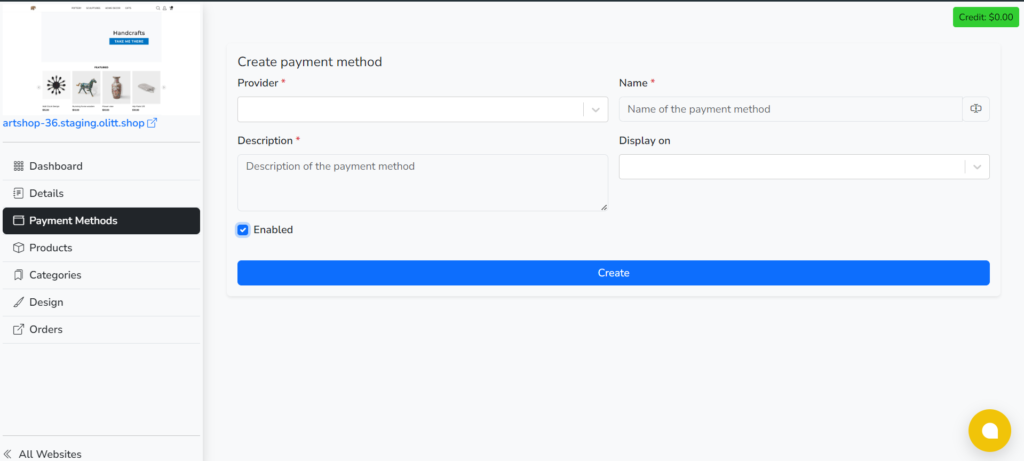
This is the section where you specify the payment methods accepted by your shop. The process involves creating the payment method from the shop’s dashboard by navigating to the payment section.
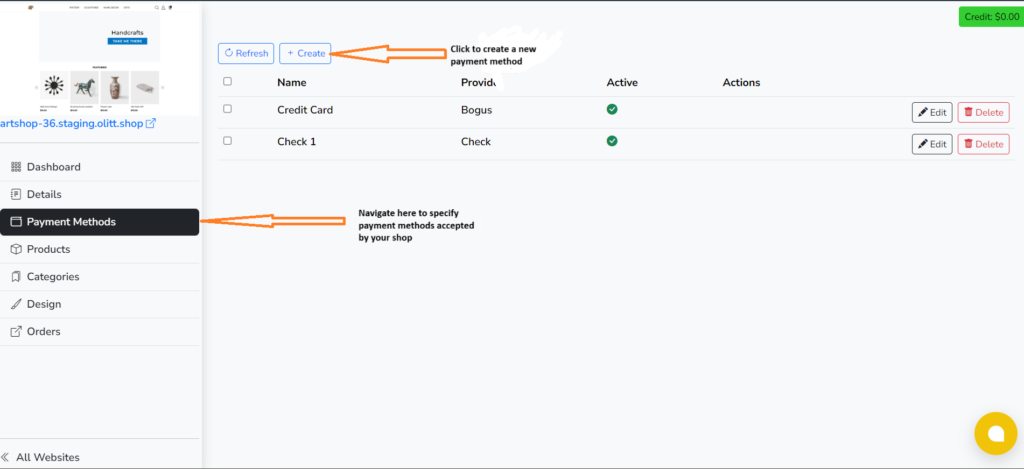
The process above will direct you to a new window where you can now choose and set up the payment method. Here you will select the provider, specify the payment method name, description, specify where the payment is displayed (frontend/backend or both) and also enable the payment method.
You can also follow the video guide for a detailed process https://youtu.be/A72zFvsUrIQ?si=iyFuzAaCTjz8sdhq
- Adding products
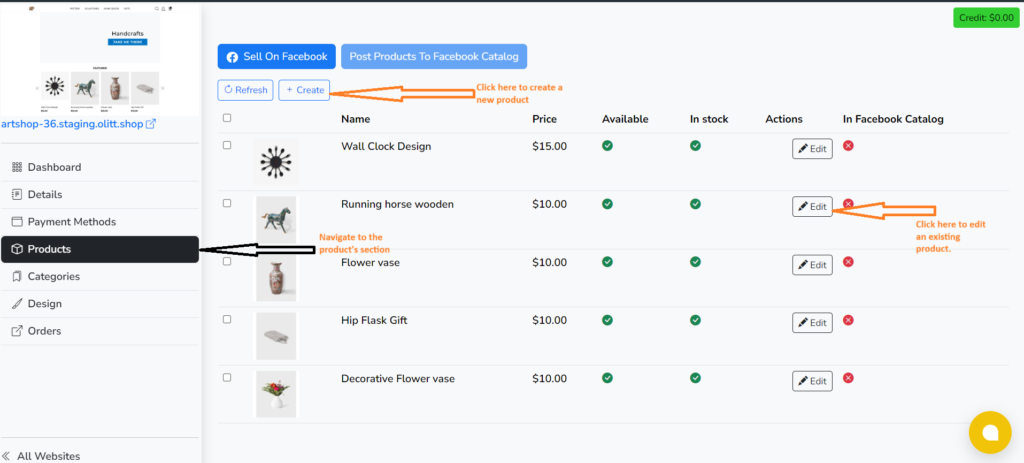
This section allows you to add and manage products on your shop. It allows you to create a new product, edit an existing product, setting product prices and stock availability.
To add products on the shop, navigate to the ‘products’ section then create a new product.
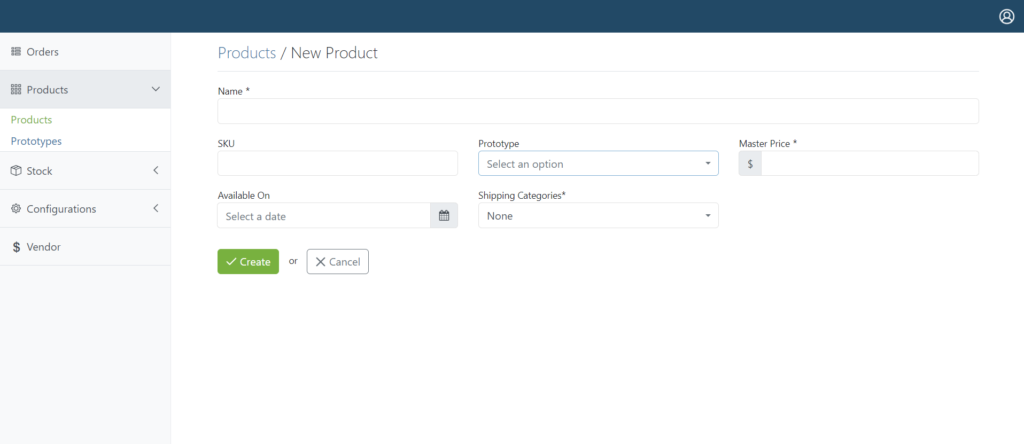
The process above will direct you to a new window where you can enter the details of the product you want to add including the product name, SKU, prototype, Master price, availability, and the category in which the product falls.


Leave A Comment?