
Forms help clients make inquiries on your website or send reviews on your services.
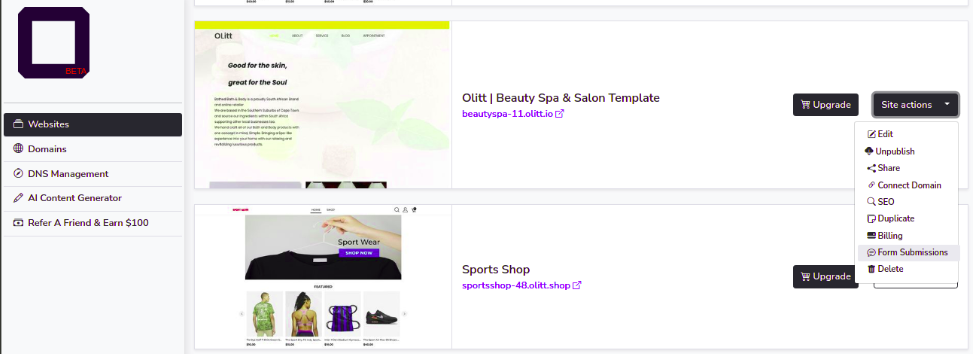
Messages sent to your form can be accessed on your Olitt dashboard by clicking Site actions and selecting form submissions.
Watch the process of adding contact form on Olitt.
1.To add a form on your website, login to your Olitt dashboard.
2. Select the website you want to add form to.
3. Click Site actions and select Edit. You will be redirected to your editor board as below.
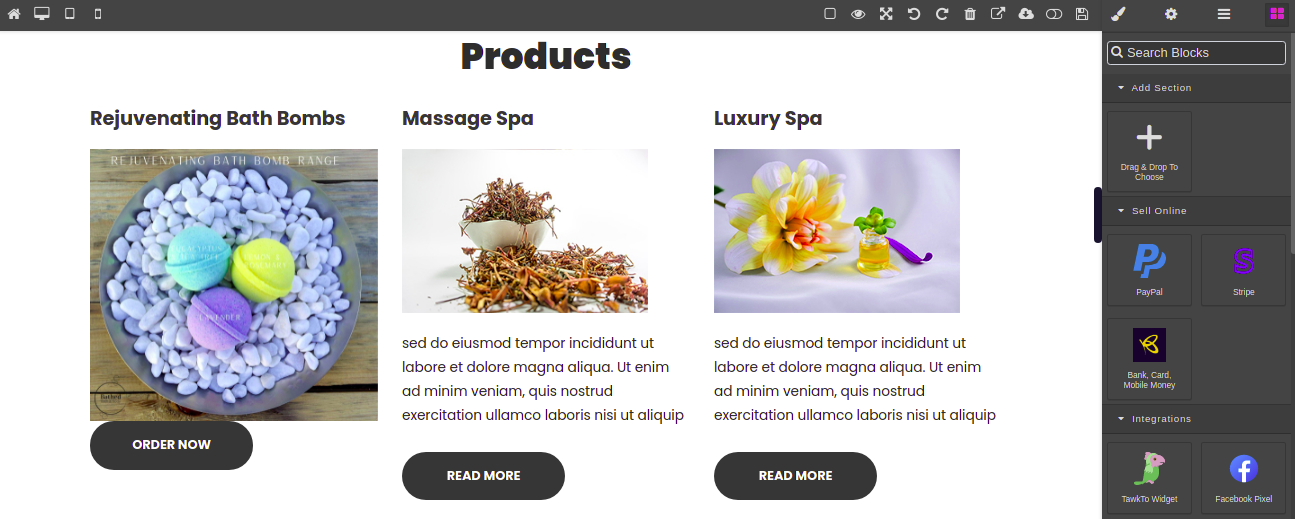
4. Scroll to the website section you wish to add the form to.
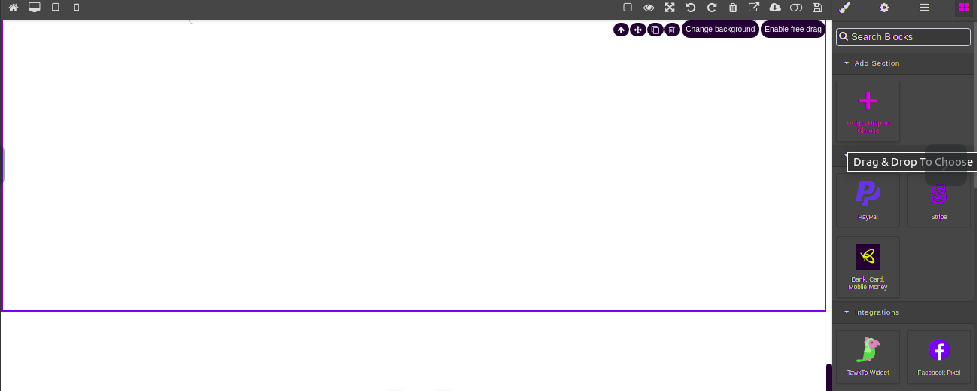
5. Click the drag and drop to choose and drag it on the selected area.
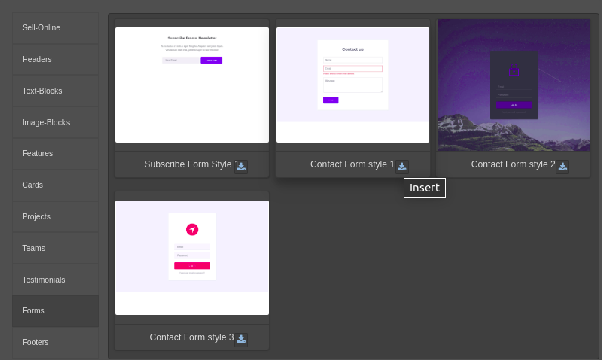
6. When the Add new section appears, select Forms as below.
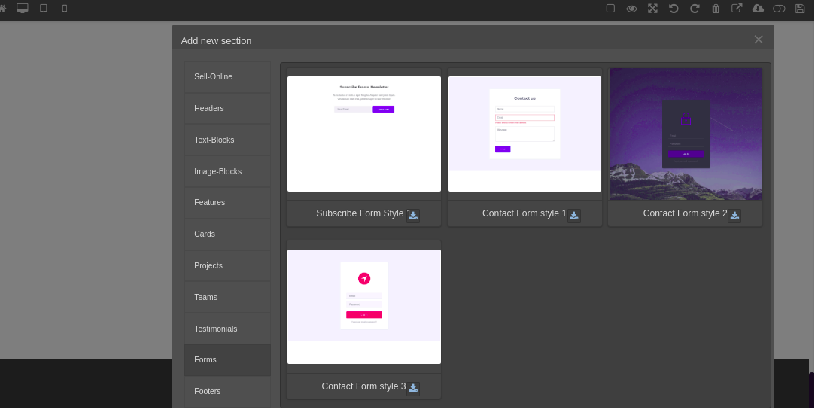
7. Select your preferred form style from the available options.
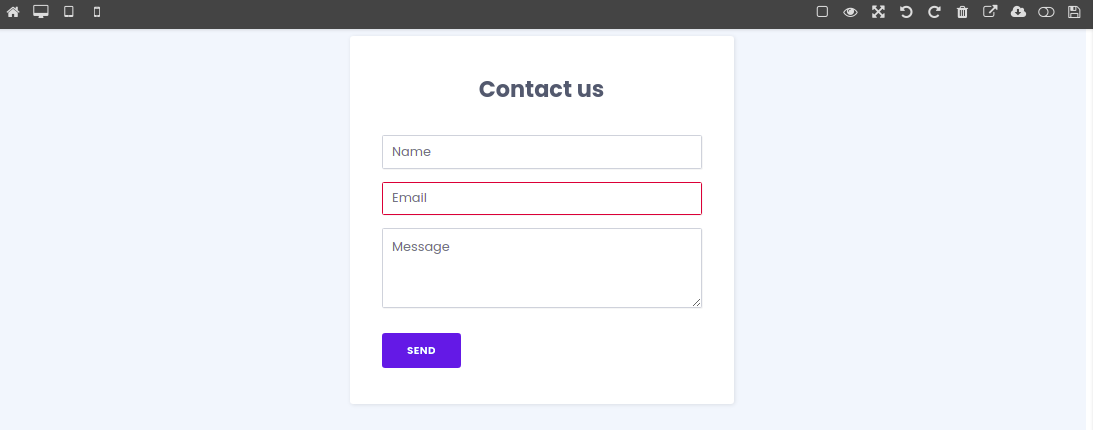
8. Click insert to save the selected form as shown below.
9.Now your form is successfully added.
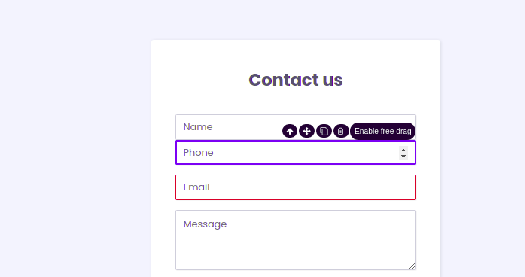
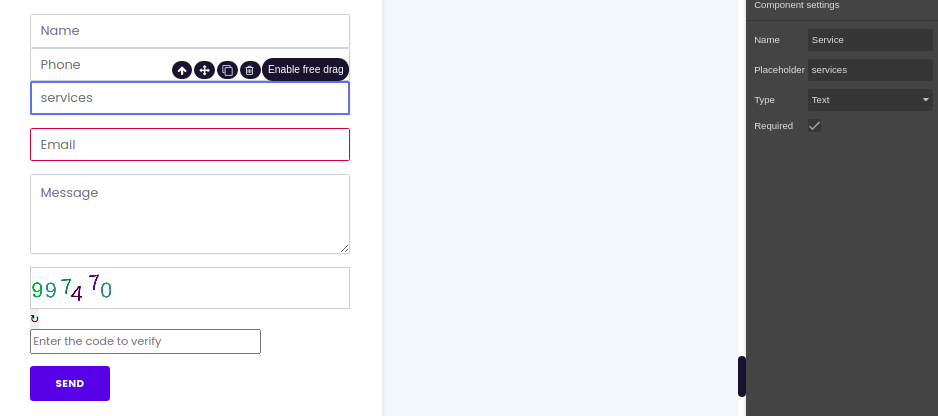
10.To add additional fields for the client to fill on the form,
click the input box you wish to duplicate.
Click the duplicate symbol as shown below.
11. Go to component settings, to edit the placeholder message and name of the input box.
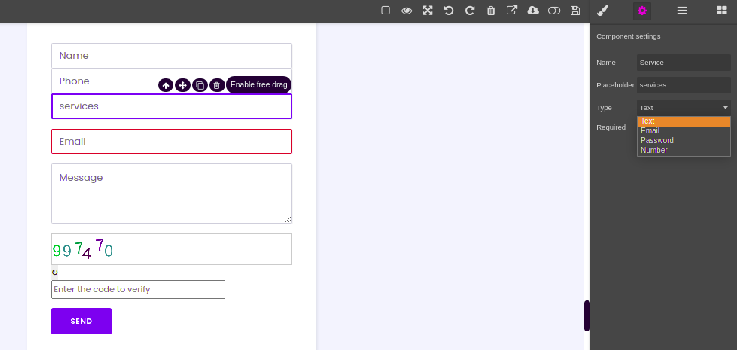
Select the required checkbox if the input box field is Compulsory for the customer.
12. Click the save button on the top right hand to save changes.
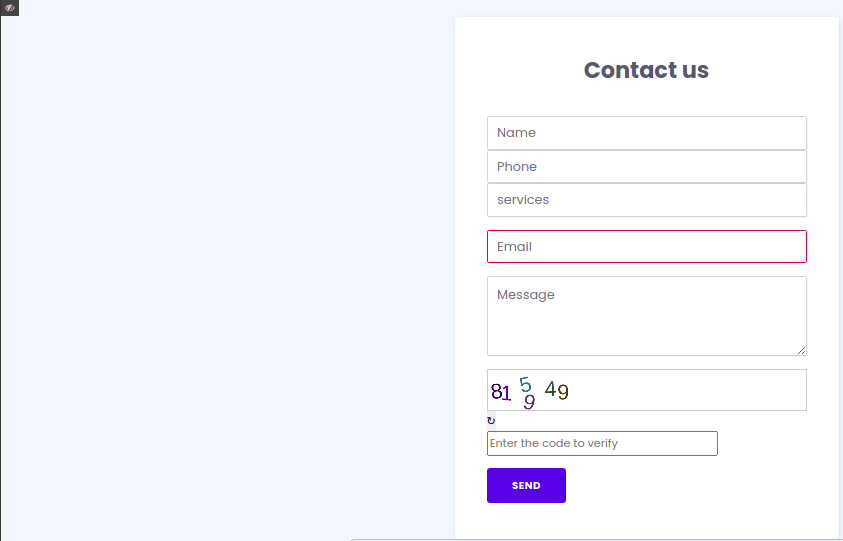
13. Now you can preview how the form appears.
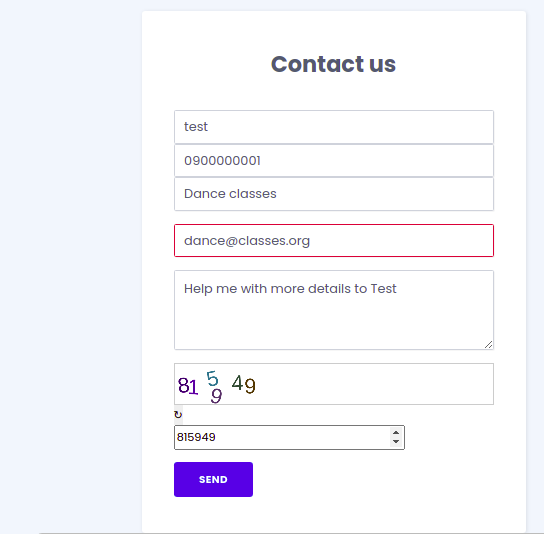
14. Test your form by sending a message on it and clicking the send button.
15. Check if the message appears on form submissions.
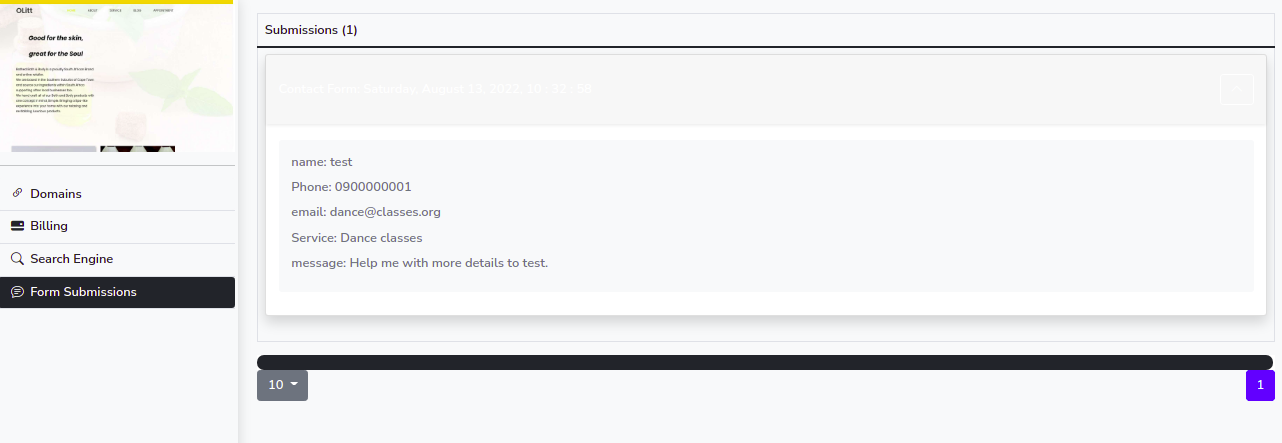
Your form is now successfully set for use.


Leave A Comment?